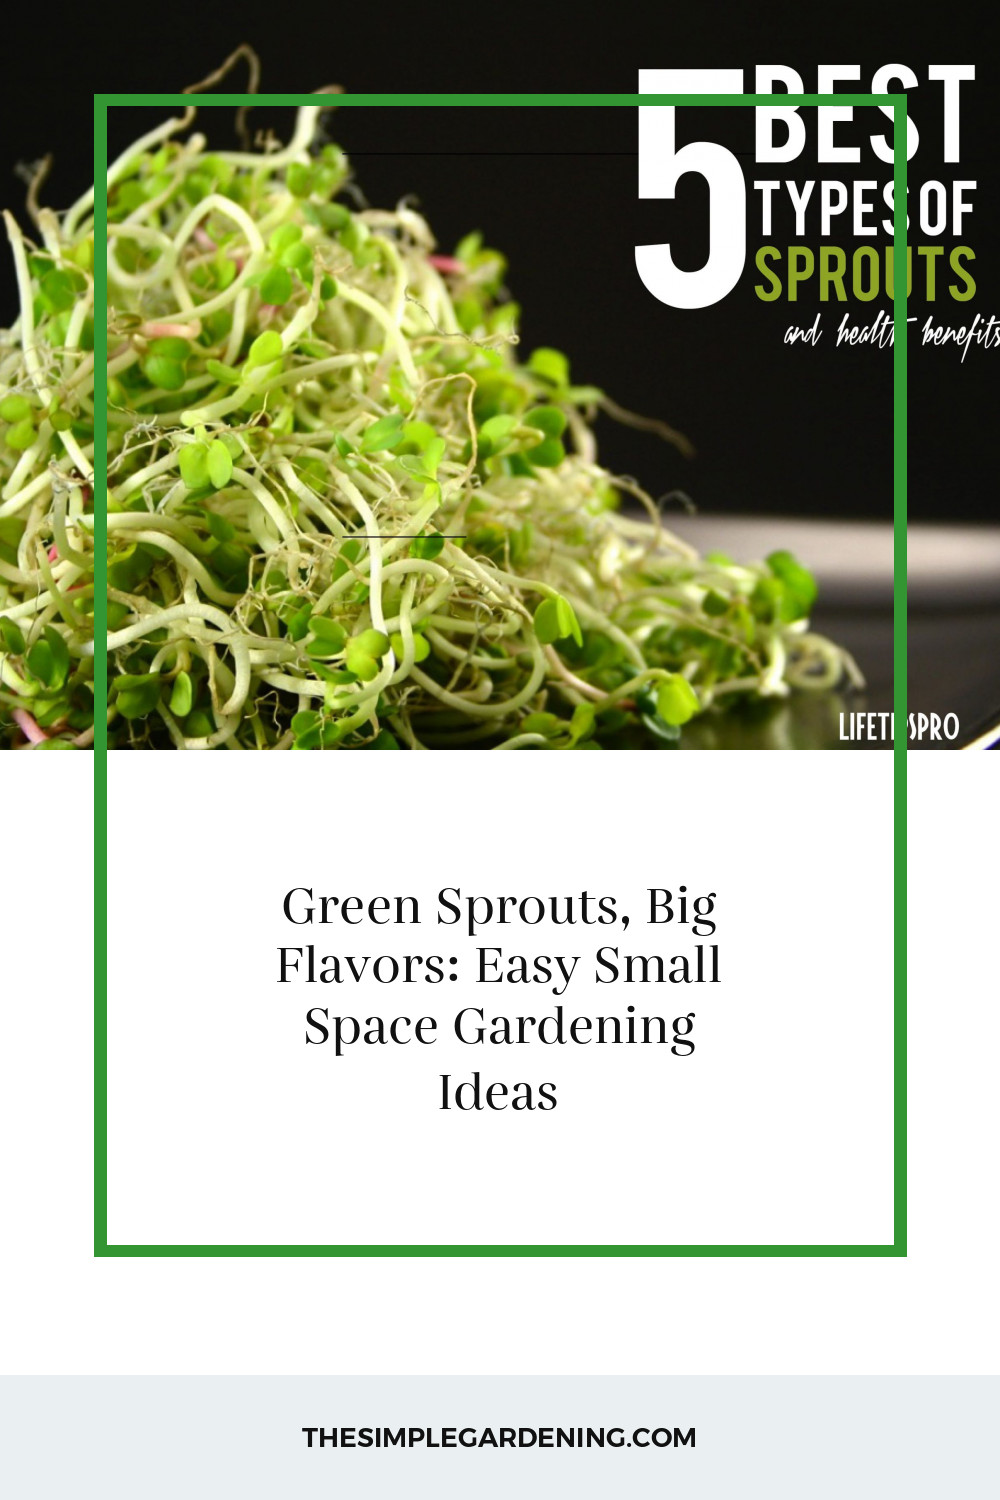
Sprouts are a fantastic way to bring fresh, nutrient-packed greens into your home, especially if you have limited space. These tiny powerhouses are easy to grow, require minimal equipment, and can be cultivated indoors all year round. Whether you’re an experienced gardener or a complete novice, sprouts offer a simple and rewarding gardening experience.
Why Sprouts? Exploring the Benefits of Growing Sprouts at Home
Growing sprouts at home comes with numerous benefits:
- Nutritional Value: Sprouts are loaded with vitamins, minerals, and enzymes that are beneficial for your health.
- Space Efficiency: They require very little space, making them ideal for small apartments and urban living.
- Cost-Effective: Growing your own sprouts is cheaper than buying them at the store.
- Sustainability: Home-grown sprouts reduce the need for plastic packaging and transportation emissions.
- Freshness: You get the freshest produce possible, right from your countertop.
| Benefit | Description |
|---|---|
| Nutritional Value | Packed with essential vitamins, minerals, and enzymes. |
| Space Efficiency | Ideal for small living spaces; can be grown in jars or trays. |
| Cost-Effective | More economical than purchasing sprouts from the store. |
| Sustainability | Reduces plastic use and carbon footprint by minimizing transportation needs. |
| Freshness | Freshly harvested, ensuring maximum flavor and nutrient retention. |

Source Image: foodprint.org
Getting Started
The Basics of Sprouting: Essential Tools and Equipment
To start sprouting, you need some basic tools:
- Sprouting Jar: A glass jar with a mesh lid for easy rinsing and drainage.
- Sprouting Trays: Shallow trays that allow for even water distribution.
- Seeds: High-quality, organic sprouting seeds.
- Water: Clean, filtered water for soaking and rinsing.
- Light Source: Indirect sunlight or a grow light to help sprouts develop.
| Tool/Equipment | Purpose |
|---|---|
| Sprouting Jar | Used for soaking and sprouting seeds. |
| Sprouting Trays | Provide a flat surface for sprouts to grow evenly. |
| Seeds | The source of your sprouts; choose organic varieties. |
| Water | Essential for soaking and rinsing seeds. |
| Light Source | Helps sprouts grow; indirect sunlight or grow lights. |
Choosing Sprouting Seeds: Varieties for Small Space Gardening
Selecting the right seeds is crucial for successful sprouting. Here are some popular varieties:
- Alfalfa: Mild flavor, great for salads.
- Broccoli: Rich in vitamins, has a slight peppery taste.
- Radish: Spicy and crisp, adds a kick to dishes.
- Lentils: Nutty flavor, high in protein.
- Clover: Sweet and mild, versatile for many recipes.
| Seed Variety | Flavor Profile | Nutritional Benefits |
|---|---|---|
| Alfalfa | Mild and fresh | High in vitamins A, C, and K |
| Broccoli | Slightly peppery | Rich in sulforaphane, vitamins C and K |
| Radish | Spicy and crisp | High in antioxidants, supports digestion |
| Lentils | Nutty | Excellent source of protein and fiber |
| Clover | Sweet and mild | Good source of calcium and iron |
Sprouting Methods
Jar Sprouting: Simple and Beginner-Friendly Sprouting Technique
Jar sprouting is a great method for beginners. Here’s how to do it:
- Soak Seeds: Place 1-2 tablespoons of seeds in a sprouting jar and cover with water. Let them soak overnight.
- Rinse and Drain: The next day, drain the water and rinse the seeds. Turn the jar upside down to allow excess water to drain.
- Repeat Rinsing: Rinse and drain the seeds twice daily for 3-5 days.
- Harvest: Once the sprouts are ready, give them a final rinse and they are ready to eat.
| Step | Description |
|---|---|
| Soak Seeds | Soak seeds overnight in water. |
| Rinse and Drain | Rinse seeds and drain excess water. |
| Repeat Rinsing | Rinse and drain twice daily until sprouts are ready. |
| Harvest | Final rinse and enjoy your fresh sprouts. |
Tray Sprouting: Growing Sprouts in Compact Seed Trays
Tray sprouting is another effective method, especially for larger quantities:
- Spread Seeds: Evenly spread a thin layer of seeds in the sprouting tray.
- Water Lightly: Moisten the seeds gently with water.
- Cover and Grow: Cover the tray with a lid or another tray to create a humid environment.
- Rinse Regularly: Rinse the seeds lightly once a day.
- Harvest: When the sprouts reach the desired length, they’re ready to harvest.
| Step | Description |
|---|---|
| Spread Seeds | Evenly distribute seeds in the tray. |
| Water Lightly | Moisten seeds gently. |
| Cover and Grow | Cover to maintain humidity. |
| Rinse Regularly | Lightly rinse once a day. |
| Harvest | Harvest when sprouts reach the desired length. |

Source Image: lianaskitchen.co.uk
Watering and Maintenance
Watering Tips for Sprouts: Keeping Them Hydrated Without Overwatering
Proper hydration is key for healthy sprouts:
- Soak Seeds: Start with a good soak for 8-12 hours.
- Rinse and Drain: Rinse twice daily to keep seeds moist but not waterlogged.
- Air Circulation: Ensure good air circulation to prevent mold growth.
- Temperature: Keep at room temperature (65-75°F) for optimal growth.
| Tip | Explanation |
|---|---|
| Soak Seeds | Initial soak for 8-12 hours to kickstart sprouting. |
| Rinse and Drain | Twice daily to maintain moisture balance. |
| Air Circulation | Prevents mold and promotes healthy growth. |
| Temperature | Ideal range is 65-75°F for sprouting. |
Daily Care Routine for Healthy Sprouts
Maintaining a daily routine ensures healthy sprouts:
- Morning Rinse: Rinse and drain sprouts in the morning.
- Evening Rinse: Rinse and drain again in the evening.
- Check for Issues: Look for any signs of mold or bad odor.
- Adjust Environment: Ensure proper light and air circulation.
| Time of Day | Activity | Purpose |
|---|---|---|
| Morning | Rinse and drain | Keeps sprouts hydrated and fresh. |
| Evening | Rinse and drain | Maintains moisture and cleanliness. |
| Daily | Check for issues | Detects mold or spoilage early. |
| As needed | Adjust environment | Ensures proper light and air for healthy growth. |

Source Image: www.photos-public-domain.com
Sprouts
Harvesting
When and How to Harvest Sprouts for Optimal Flavor and Nutrition
Knowing when to harvest is crucial for the best taste and nutrition:
- Appearance: Sprouts are ready when they have fully developed leaves.
- Timing: Most sprouts are ready in 3-5 days.
- Final Rinse: Give a final rinse before consuming.
| Indicator | Description |
|---|---|
| Appearance | Fully developed leaves. |
| Timing | Typically ready in 3-5 days. |
| Final Rinse | Ensures cleanliness before consumption. |
Enjoying the Fruits of Your Labor: Creative Ways to Use Fresh Sprouts
Sprouts can be used in a variety of dishes:
- Salads: Add crunch and nutrition.
- Sandwiches: Use as a fresh topping.
- Smoothies: Blend for a nutrient boost.
- Stir-Fries: Toss in at the end for a fresh touch.
- Garnishes: Decorate soups and dishes.
| Dish Type | Usage of Sprouts |
|---|---|
| Salads | Adds crunch and nutritional value. |
| Sandwiches | Fresh and crisp topping. |
| Smoothies | Nutrient-dense ingredient. |
| Stir-Fries | Adds freshness; toss in at the end of cooking. |
| Garnishes | Decorative and nutritious addition to soups and dishes. |
Nutritional Value
Nutritional Benefits of Sprouts: Packed with Vitamins, Minerals, and Enzymes
Sprouts are a nutritional powerhouse:
- Vitamins: High in vitamins A, C, K, and several B vitamins.
- Minerals: Rich in iron, calcium, magnesium, and zinc.
- Enzymes: Aid in digestion and nutrient absorption.
- Antioxidants: Help combat oxidative stress.
| Nutrient | Benefits |
|---|---|
| Vitamins | Essential for immune function, skin health, and vision. |
| Minerals | Support bone health, oxygen transport, and muscle function. |
| Enzymes | Improve digestion and nutrient absorption. |
| Antioxidants | Protect cells from damage and reduce inflammation. |

Source Image: mayafellernutrition.com
Incorporating Sprouts into a Healthy Diet: Recipes and Meal Ideas
Here are some ideas to include sprouts in your meals:
- Sprout Salad: Mix with other greens, nuts, and a light vinaigrette.
- Sprout Wraps: Use as a filling with veggies and hummus in a tortilla.
- Sprout Smoothie: Blend with fruits, yogurt, and a splash of juice.
- Sprout Omelette: Add to your morning eggs for extra nutrition.
- Sprout Stir-Fry: Combine with your favorite veggies and sauce.
| Recipe Type | Ingredients & Preparation |
|---|---|
| Sprout Salad | Mixed greens, nuts, vinaigrette, and a variety of sprouts. |
| Sprout Wraps | Tortilla, hummus, veggies, and sprouts. |
| Sprout Smoothie | Fruits, yogurt, juice, and sprouts blended together. |
| Sprout Omelette | Eggs, cheese, sprouts, and seasonings. |
| Sprout Stir-Fry | Mixed vegetables, sprouts, and stir-fry sauce. |
Microgreens vs. Sprouts
Understanding the Difference Between Microgreens and Sprouts
Although often confused, microgreens and sprouts are distinct:
- Growth Stage: Sprouts are germinated seeds; microgreens are young plants.
- Growing Method: Sprouts grow in water; microgreens grow in soil or a medium.
- Nutritional Profile: Both are nutritious, but microgreens often have higher nutrient levels.
| Aspect | Sprouts | Microgreens |
|---|---|---|
| Growth Stage | Germinated seeds | Young plants with leaves |
| Growing Method | Grown in water | Grown in soil or medium |
| Nutritional Profile | High in vitamins and enzymes | Often higher nutrient density |
Growing Microgreens in Small Spaces: Comparing the Two Methods
Growing microgreens is slightly more complex but rewarding:
- Equipment: Shallow trays, soil or growing medium, seeds, and a light source.
- Process: Sow seeds densely in trays, cover lightly with soil, water, and provide light.
- Harvest: Cut microgreens just above the soil line when they have developed their first true leaves.
| Step | Description |
|---|---|
| Equipment | Shallow trays, soil, seeds, light source. |
| Sowing | Sow seeds densely and cover lightly with soil. |
| Watering | Keep soil moist but not waterlogged. |
| Light | Provide adequate light for growth. |
| Harvesting | Cut above soil line when first true leaves develop. |

Source Image: www.lovethegarden.com
Troubleshooting
Common Issues in Sprouting and How to Address Them
Sprouting can occasionally face challenges:
- Mold Growth: Ensure proper rinsing and drainage.
- Poor Germination: Use fresh, high-quality seeds.
- Foul Odor: Rinse more frequently and check for contamination.
- Slime Formation: Improve air circulation and reduce humidity.
| Issue | Solution |
|---|---|
| Mold Growth | Proper rinsing and drainage, ensure good air circulation. |
| Poor Germination | Use fresh, high-quality seeds, and proper soaking time. |
| Foul Odor | Increase rinsing frequency and ensure cleanliness. |
| Slime Formation | Improve air circulation and reduce environmental humidity. |
Preventing Mold and Bacterial Growth in Sprouting
To prevent mold and bacteria:
- Sanitize Equipment: Clean jars and trays thoroughly before use.
- Proper Rinsing: Rinse sprouts twice daily to keep them clean.
- Drain Well: Ensure no standing water in jars or trays.
- Airflow: Use a fan to improve air circulation if necessary.
| Preventive Measure | Description |
|---|---|
| Sanitize Equipment | Thoroughly clean jars and trays before use. |
| Proper Rinsing | Rinse sprouts twice daily to prevent mold and bacteria. |
| Drain Well | Ensure no standing water to avoid mold growth. |
| Airflow | Use a fan to improve air circulation if needed. |

Source Image: www.almanac.com
Sprouts
Seasonal Sprouting
Sprouting Year-Round: Adjusting Techniques for Different Seasons
Sprouting can be done all year with some adjustments:
- Spring: Mild temperatures; sprouts grow quickly.
- Summer: Ensure cool, shaded spots to avoid overheating.
- Fall: Ideal for sprouting; moderate temperatures.
- Winter: Use indoor light sources to compensate for lower sunlight.
| Season | Tips for Successful Sprouting |
|---|---|
| Spring | Enjoy fast growth due to mild temperatures. |
| Summer | Provide shade and keep cool to avoid overheating. |
| Fall | Ideal temperatures for steady growth. |
| Winter | Use indoor lights to compensate for reduced sunlight. |
Seasonal Sprouting Favorites: Varieties to Grow in Spring, Summer, Fall, and Winter
Different sprouts thrive in different seasons:
- Spring: Alfalfa, clover.
- Summer: Radish, broccoli.
- Fall: Lentils, mung beans.
- Winter: Wheatgrass, pea shoots.
| Season | Recommended Sprouts |
|---|---|
| Spring | Alfalfa, clover |
| Summer | Radish, broccoli |
| Fall | Lentils, mung beans |
| Winter | Wheatgrass, pea shoots |

Source Image: www.photos-public-domain.com
Indoor Sprouting
Growing Sprouts Indoors: Maximizing Space Efficiency
Indoor sprouting is perfect for small spaces:
- Vertical Space: Use shelves to stack jars or trays.
- Compact Equipment: Choose small jars and trays.
- Multi-Use Areas: Use kitchen counters or windowsills.
- Light Management: Ensure adequate light with natural light or grow lights.
| Strategy | Description |
|---|---|
| Vertical Space | Use shelves to stack sprouting jars or trays. |
| Compact Equipment | Opt for smaller jars and trays to save space. |
| Multi-Use Areas | Utilize kitchen counters or windowsills for sprouting. |
| Light Management | Ensure adequate light with natural light or grow lights. |
Creating a Sprouting Station in Your Kitchen or Pantry
Set up a dedicated sprouting area:
- Designate a Space: Choose a convenient spot in your kitchen or pantry.
- Organize Supplies: Keep seeds, jars, and trays neatly stored.
- Easy Access: Make sure your sprouting station is easily accessible for daily rinsing.
- Cleanliness: Maintain cleanliness to avoid contamination.
| Step | Description |
|---|---|
| Designate a Space | Choose a convenient spot in the kitchen or pantry. |
| Organize Supplies | Keep sprouting supplies neatly stored. |
| Easy Access | Ensure easy access for daily maintenance. |
| Cleanliness | Maintain a clean area to prevent contamination. |
Outdoor Sprouting
Utilizing Outdoor Spaces for Sprouting: Balconies, Patios, and Small Gardens
Outdoor areas can also be great for sprouting:
- Balconies: Use pots or trays in a shaded area.
- Patios: Set up sprouting trays on tables or shelves.
- Small Gardens: Incorporate sprouts into your garden beds.
| Outdoor Area | Tips for Sprouting |
|---|---|
| Balconies | Use pots or trays in shaded areas to avoid direct sunlight. |
| Patios | Utilize tables or shelves for sprouting trays. |
| Small Gardens | Integrate sprouting trays or pots into garden beds. |
Incorporating Sprouts into Urban Gardening Projects
Sprouts can enhance urban gardening:
- Community Gardens: Share sprouting techniques with others.
- Urban Farms: Include sprouting as part of urban farming projects.
- Rooftop Gardens: Maximize space by adding sprouting areas.
| Urban Gardening Area | Description |
|---|---|
| Community Gardens | Share techniques and sprouts with fellow gardeners. |
| Urban Farms | Integrate sprouting into urban farming initiatives. |
| Rooftop Gardens | Utilize rooftops for additional sprouting space. |
Seed Saving
Saving Seeds from Sprouts for Future Plantings
Saving seeds is sustainable and cost-effective:
- Harvest Seeds: Collect seeds from mature plants.
- Dry Seeds: Ensure seeds are completely dry before storing.
- Store Properly: Keep seeds in a cool, dry place.
| Step | Description |
|---|---|
| Harvest Seeds | Collect seeds from mature sprouting plants. |
| Dry Seeds | Ensure seeds are completely dry before storage. |
| Store Properly | Keep seeds in a cool, dry, and dark place. |
Tips for Successful Seed Saving in Small Space Gardening
For successful seed saving:
- Choose Healthy Plants: Only save seeds from the healthiest plants.
- Label Seeds: Clearly label the seeds with the date and variety.
- Use Airtight Containers: Store seeds in airtight containers to maintain viability.
| Tip | Description |
|---|---|
| Choose Healthy Plants | Save seeds from robust, healthy plants. |
| Label Seeds | Clearly label seeds with date and variety. |
| Airtight Containers | Use airtight containers to preserve seed quality. |
Educational Activities
Sprouting Projects for Kids: Engaging Children in Gardening
Sprouting is an excellent activity for kids:
- Easy and Quick: Kids see results quickly, keeping them engaged.
- Educational: Teaches about plant life cycles and nutrition.
- Fun: Kids love watching seeds grow into edible plants.
| Benefit | Description |
|---|---|
| Easy and Quick | Results in a few days, keeping children engaged. |
| Educational | Teaches plant life cycles and nutritional benefits. |
| Fun | Kids enjoy watching and eating their own sprouts. |
Classroom Sprouting: Educational Opportunities for Schools and Homeschooling
Classrooms can benefit from sprouting projects:
- Hands-On Learning: Students learn through active participation.
- Curriculum Integration: Fits into science, health, and nutrition lessons.
- Teamwork: Encourages teamwork and collaboration among students.
| Educational Benefit | Description |
|---|---|
| Hands-On Learning | Students actively participate in growing sprouts. |
| Curriculum Integration | Fits into various subjects like science and health. |
| Teamwork | Encourages collaborative learning and teamwork. |
Community Engagement
Sharing the Bounty: Community Sprouting Projects and Swaps
Community projects enhance engagement:
- Sprout Swaps: Exchange different sprout varieties with neighbors.
- Community Gardens: Grow sprouts together in shared spaces.
- Workshops: Teach others how to sprout at home.
| Community Activity | Description |
|---|---|
| Sprout Swaps | Exchange sprout varieties with neighbors. |
| Community Gardens | Grow and share sprouts in a community space. |
| Workshops | Teach sprouting techniques to community members. |
Hosting Sprouting Workshops and Demonstrations in Your Neighborhood
Hosting workshops can spread knowledge:
- Organize Events: Plan sprouting demonstrations and hands-on workshops.
- Invite Experts: Bring in experienced gardeners to share tips.
- Provide Materials: Supply seeds, jars, and trays for participants.
| Workshop Element | Description |
|---|---|
| Organize Events | Plan and promote sprouting workshops. |
| Invite Experts | Bring in knowledgeable speakers and gardeners. |
| Provide Materials | Supply necessary sprouting materials for participants. |
Celebrating the Versatility and Accessibility of Sprouts in Small Space Gardening
Sprouts are a versatile and accessible option for small space gardening. They provide a nutritious addition to your diet, are easy to grow, and require minimal space and resources. Embrace the simplicity and benefits of sprouting, and you’ll enjoy fresh, home-grown greens all year round.
Empowering Gardeners of All Skill Levels to Grow Fresh Greens Anywhere
Whether you’re an experienced gardener or just starting, sprouts empower you to grow your own fresh, nutritious greens anywhere. With the right tools, seeds, and a bit of care, you can transform even the smallest spaces into a thriving mini garden. Happy sprouting!